Before and After Windshild Replacment in Phoenix Subaro Impreza 2019
Subaro Impreza 2019 Windshield Replacement
Before
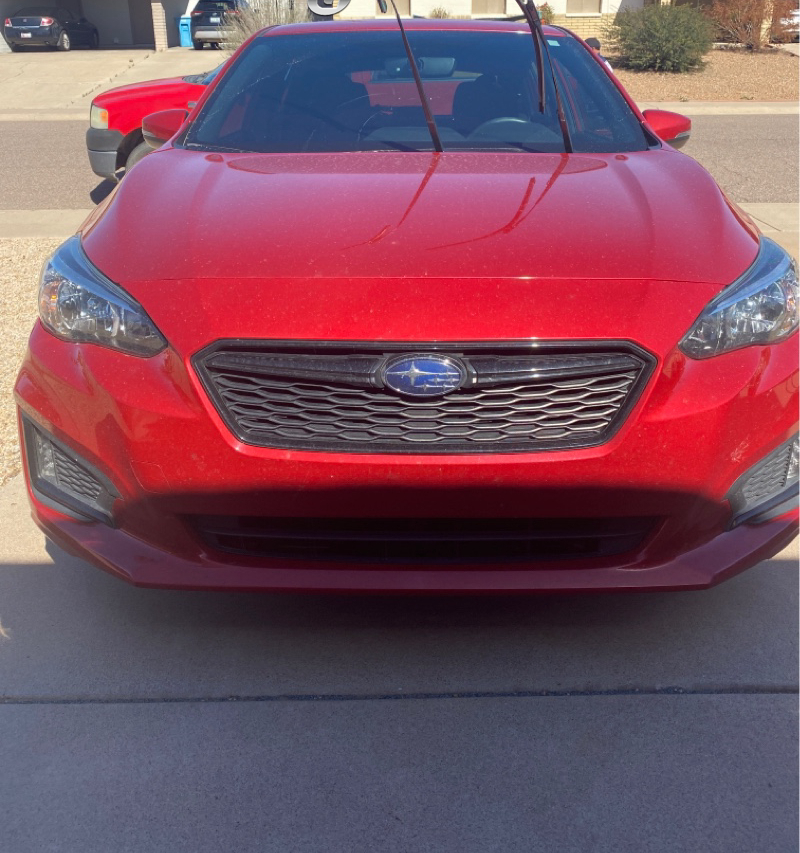
After

How to replace the Subaru Impreza 2019 windshield?
To replace the windshield of a Subaru Impreza 2019, it is recommended to seek professional assistance from an experienced auto glass technician or a reputable windshield replacement company.
Gather the required materials and tools: You will need a replacement windshield specifically designed for the Subaru Impreza 2019, a windshield sealant/adhesive, a razor blade or utility knife, a windshield removal tool (such as a cold knife or wire), gloves, safety glasses, and a clean cloth.
Prepare the vehicle: Park the car in a well-ventilated area, away from direct sunlight. Ensure the engine is turned off and the ignition key is removed.
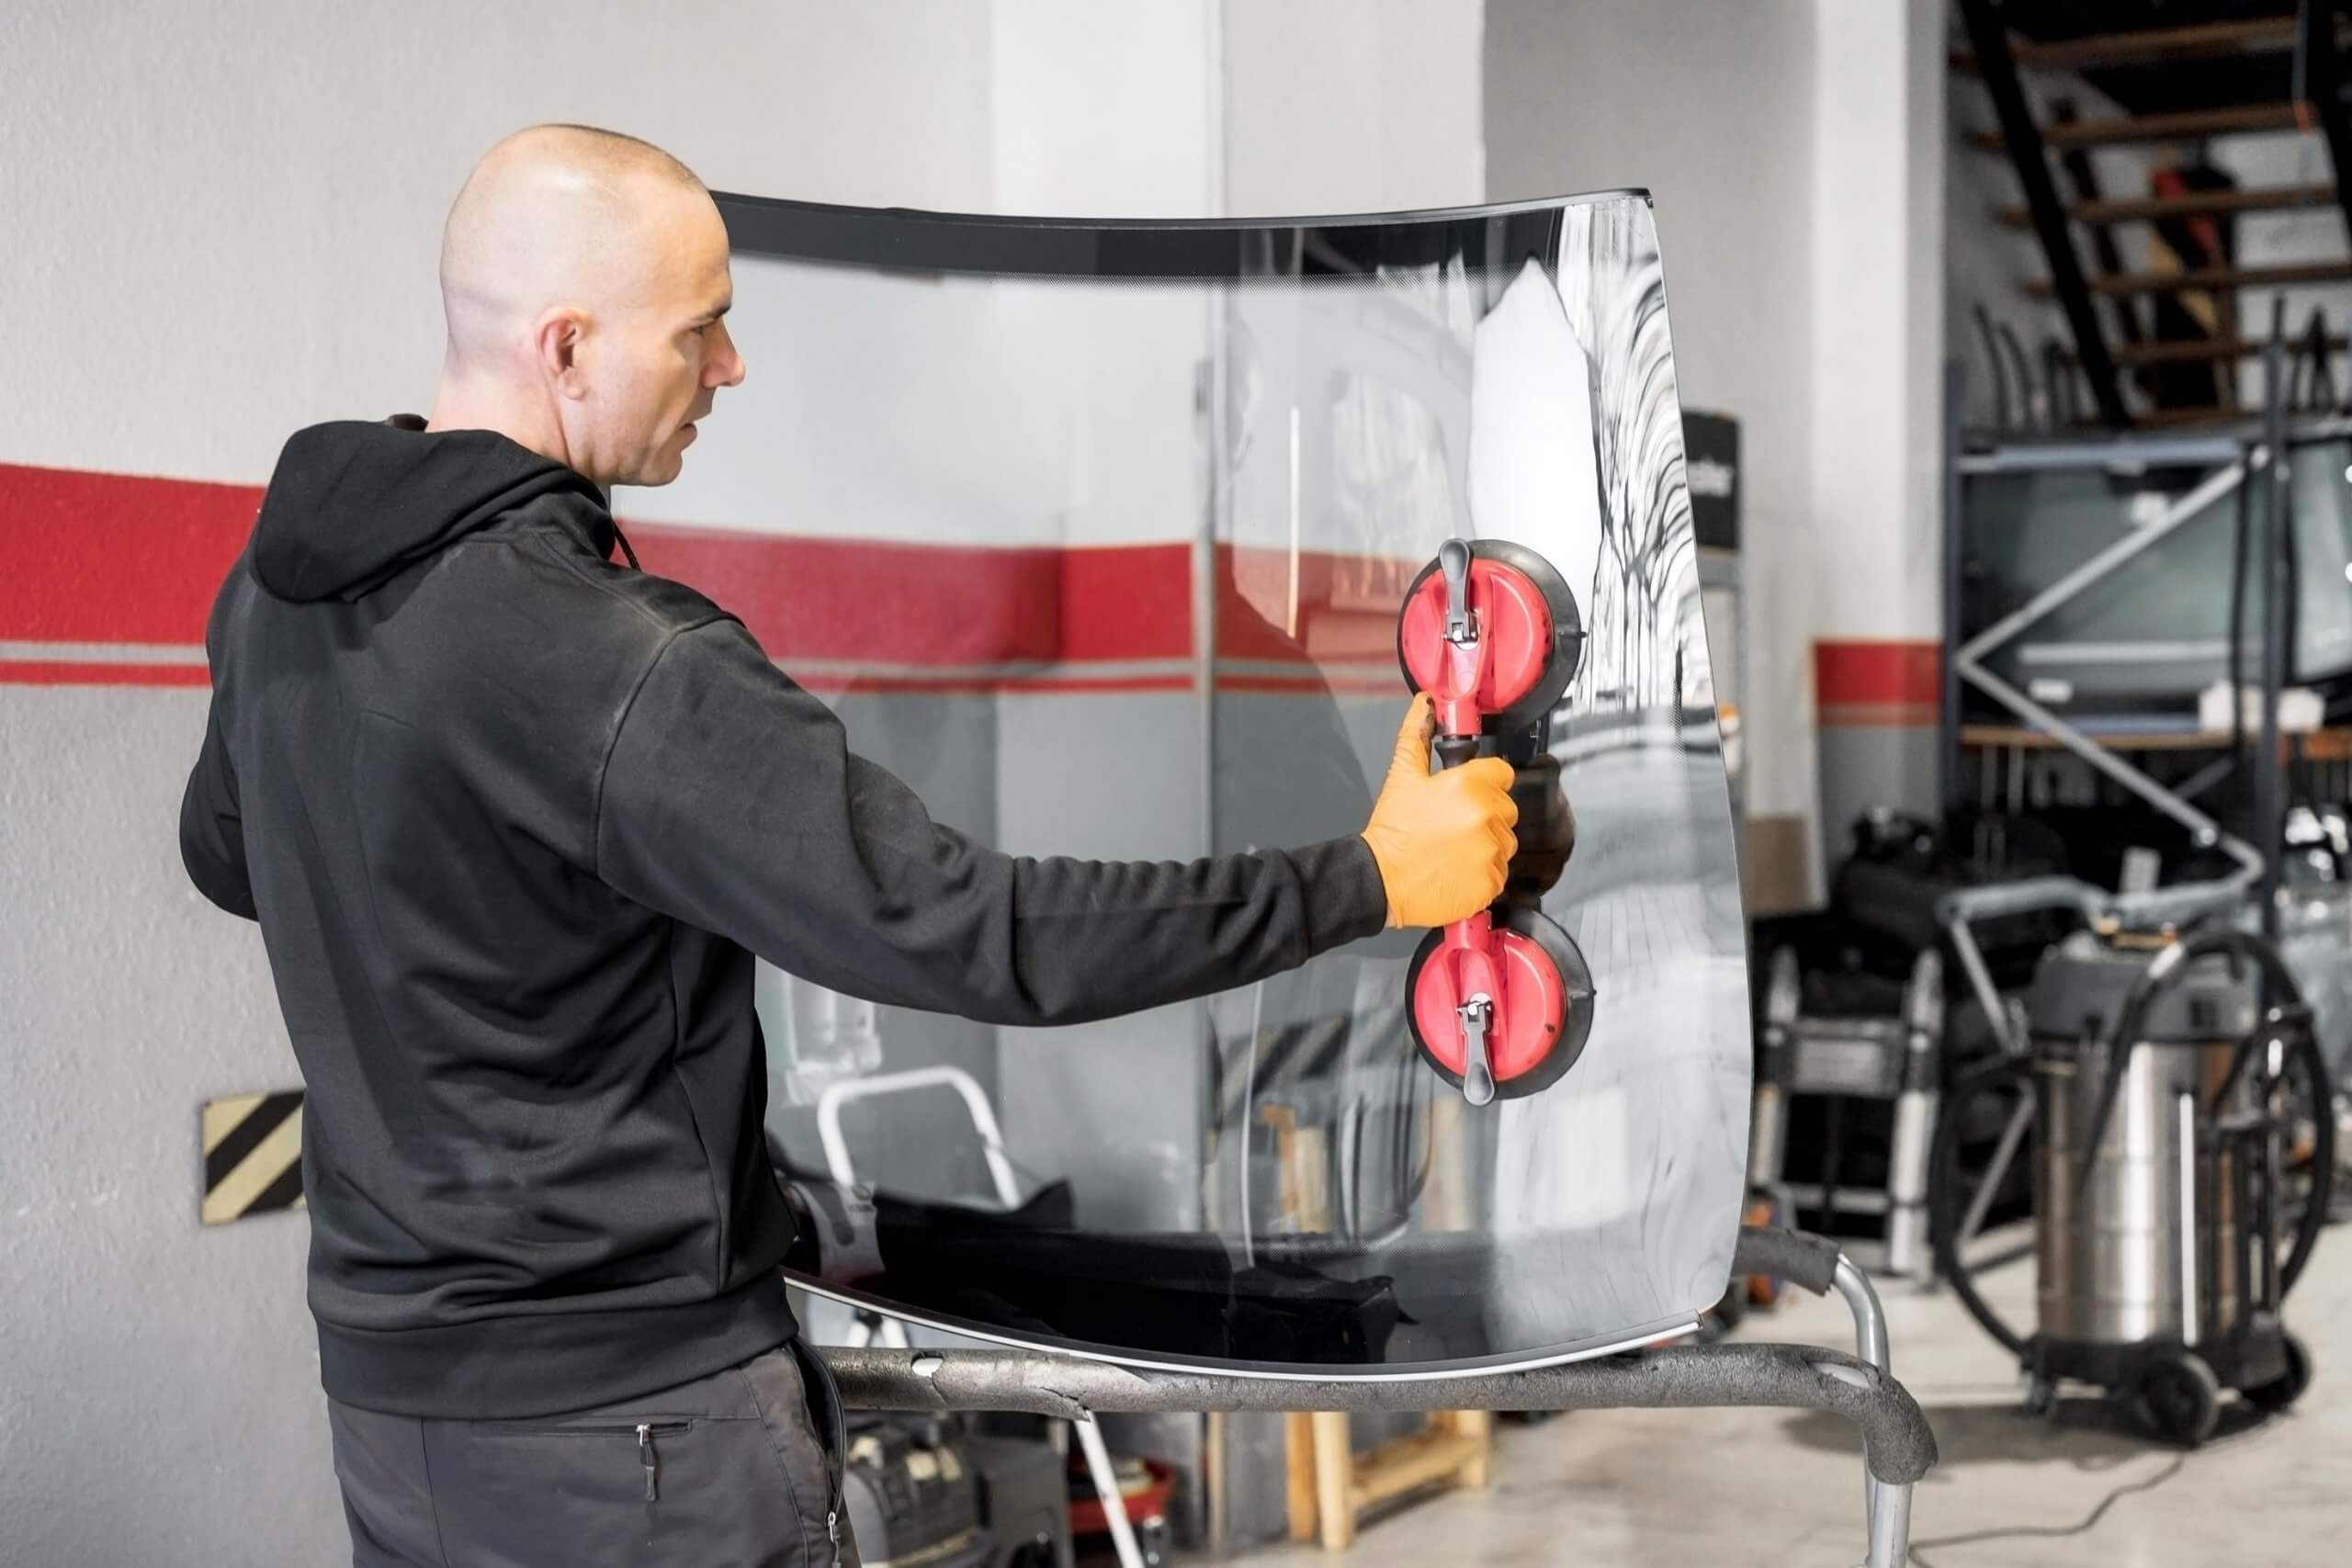
Remove the old windshield: Use a windshield removal tool to carefully cut through the adhesive/sealant holding the windshield in place. Start at the top center and work your way around the edges. Once the adhesive is cut, gently push the windshield from the inside to release it. Be cautious not to apply excessive force to avoid damaging the vehicle or the windshield.
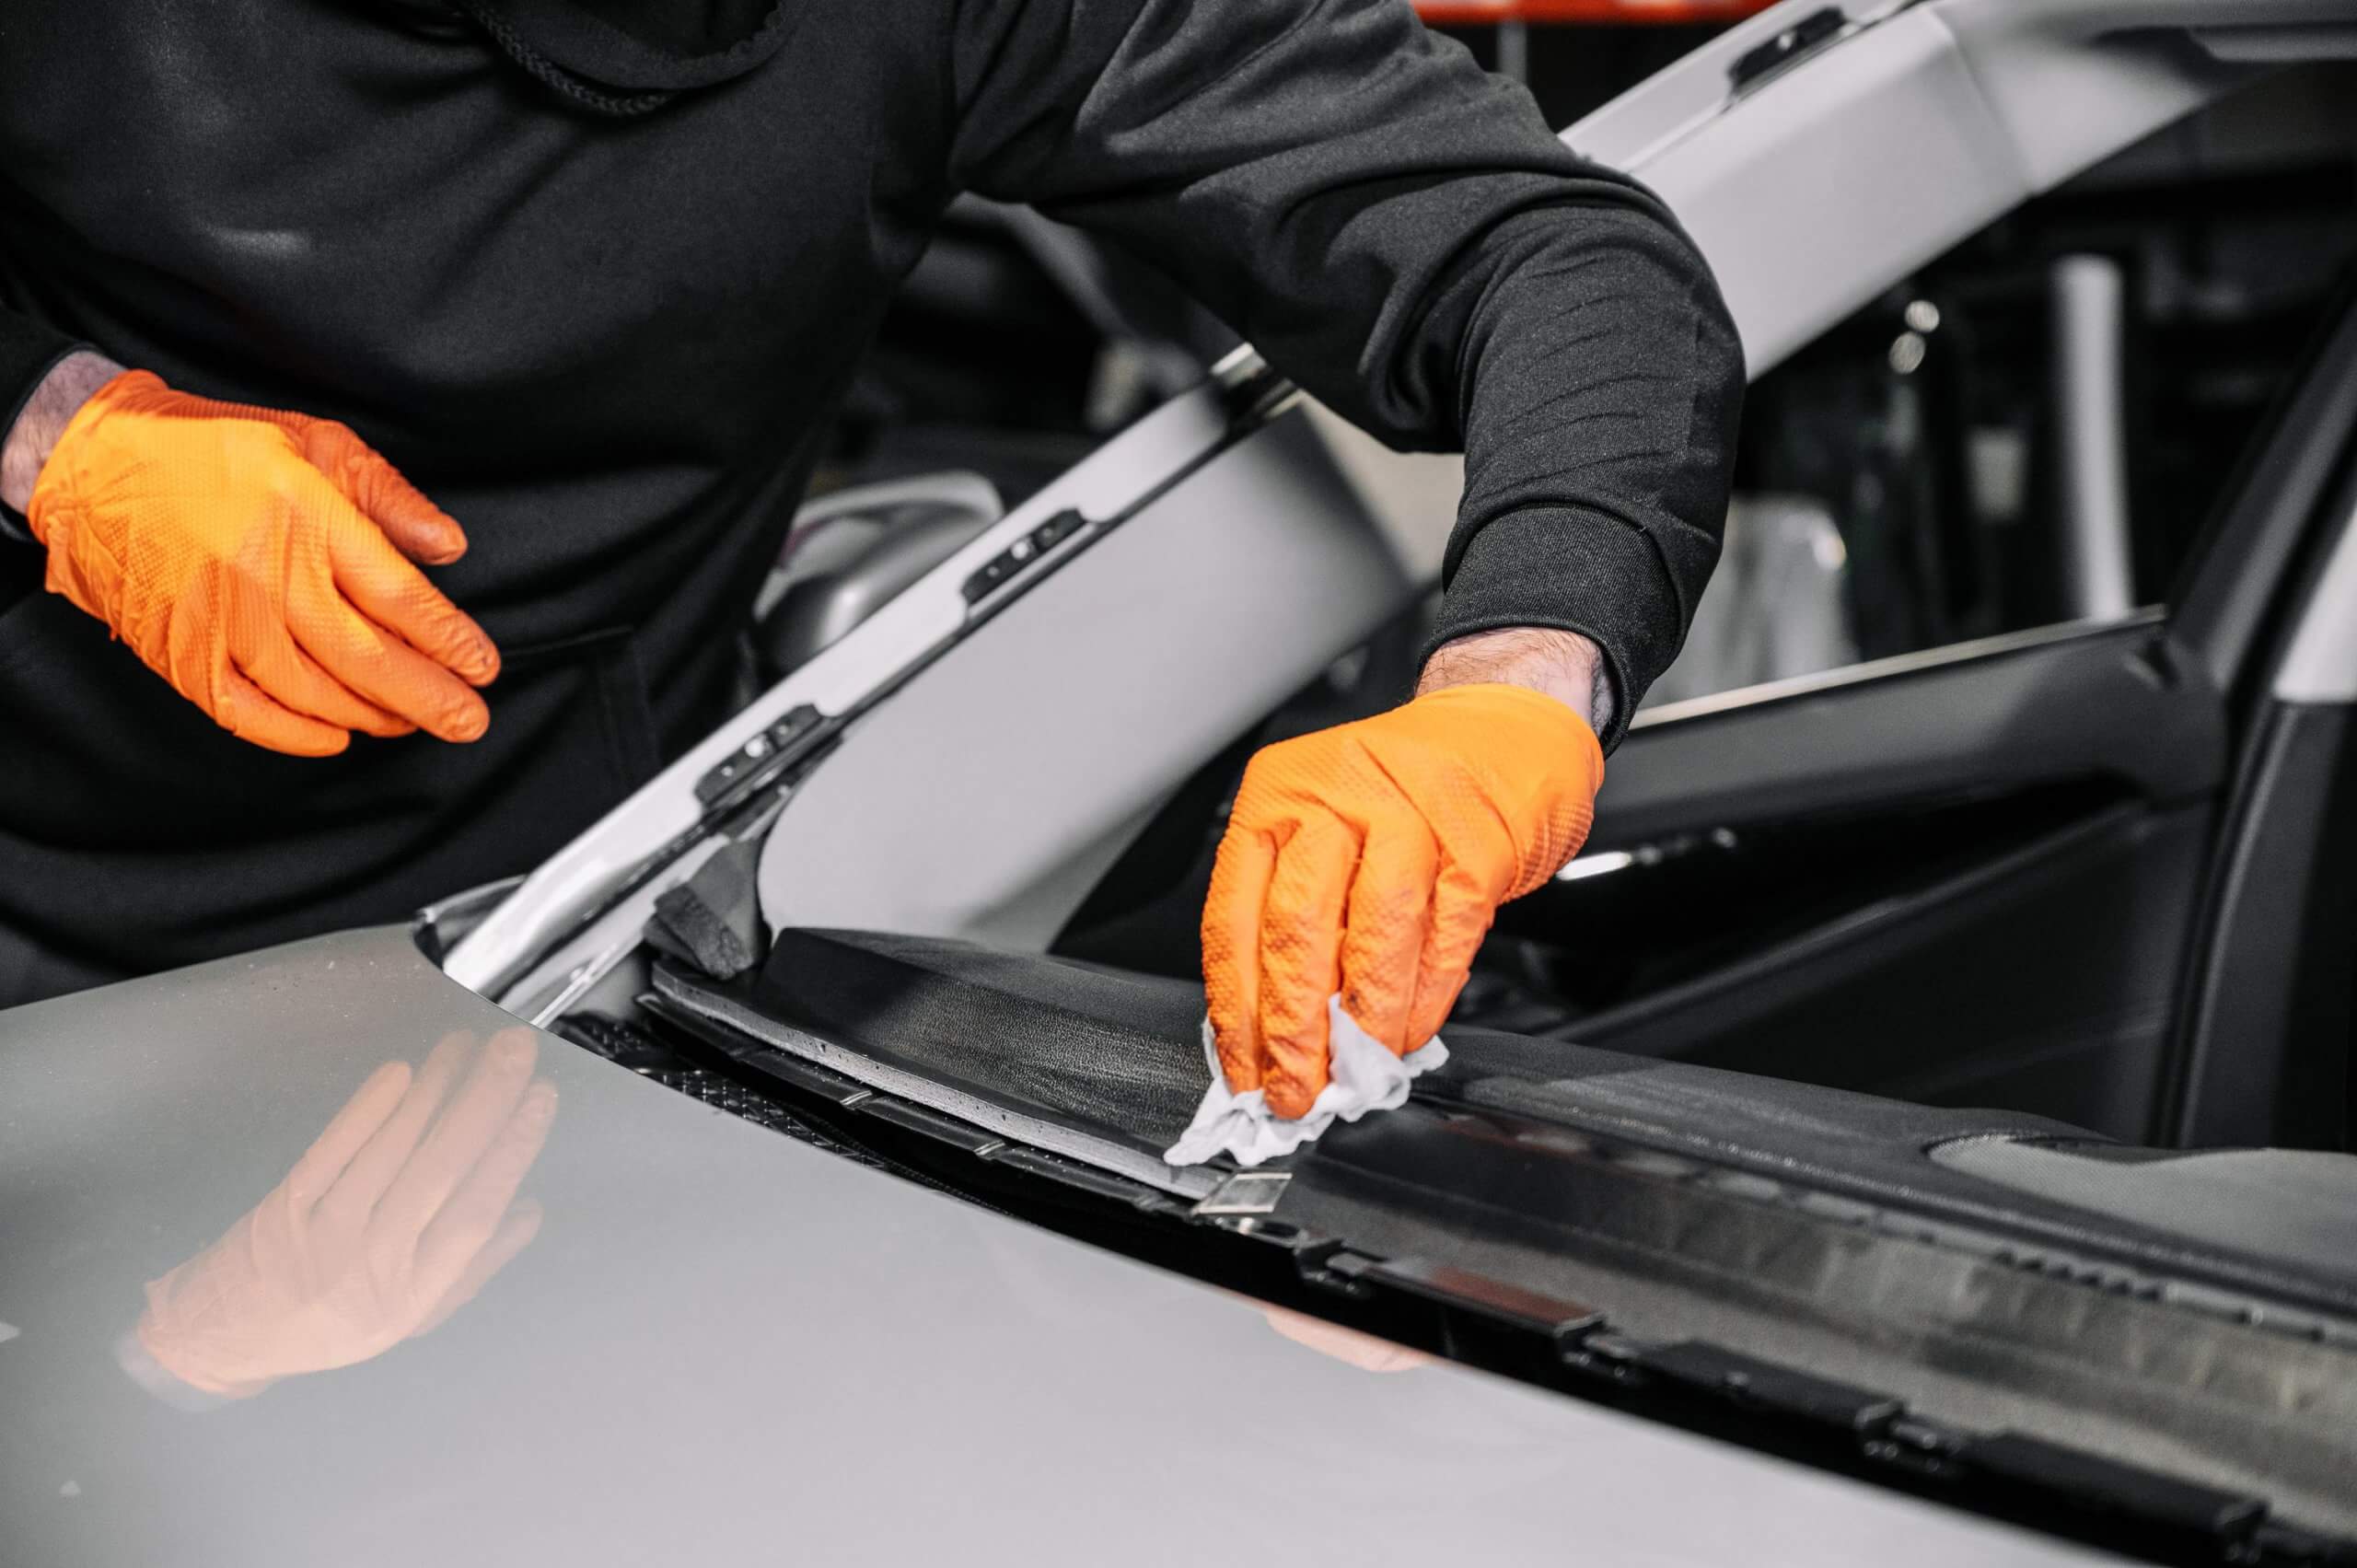
Clean the windshield frame: Use a clean cloth and a mild glass cleaner to thoroughly clean the windshield frame. Remove any old adhesive residue or dirt.
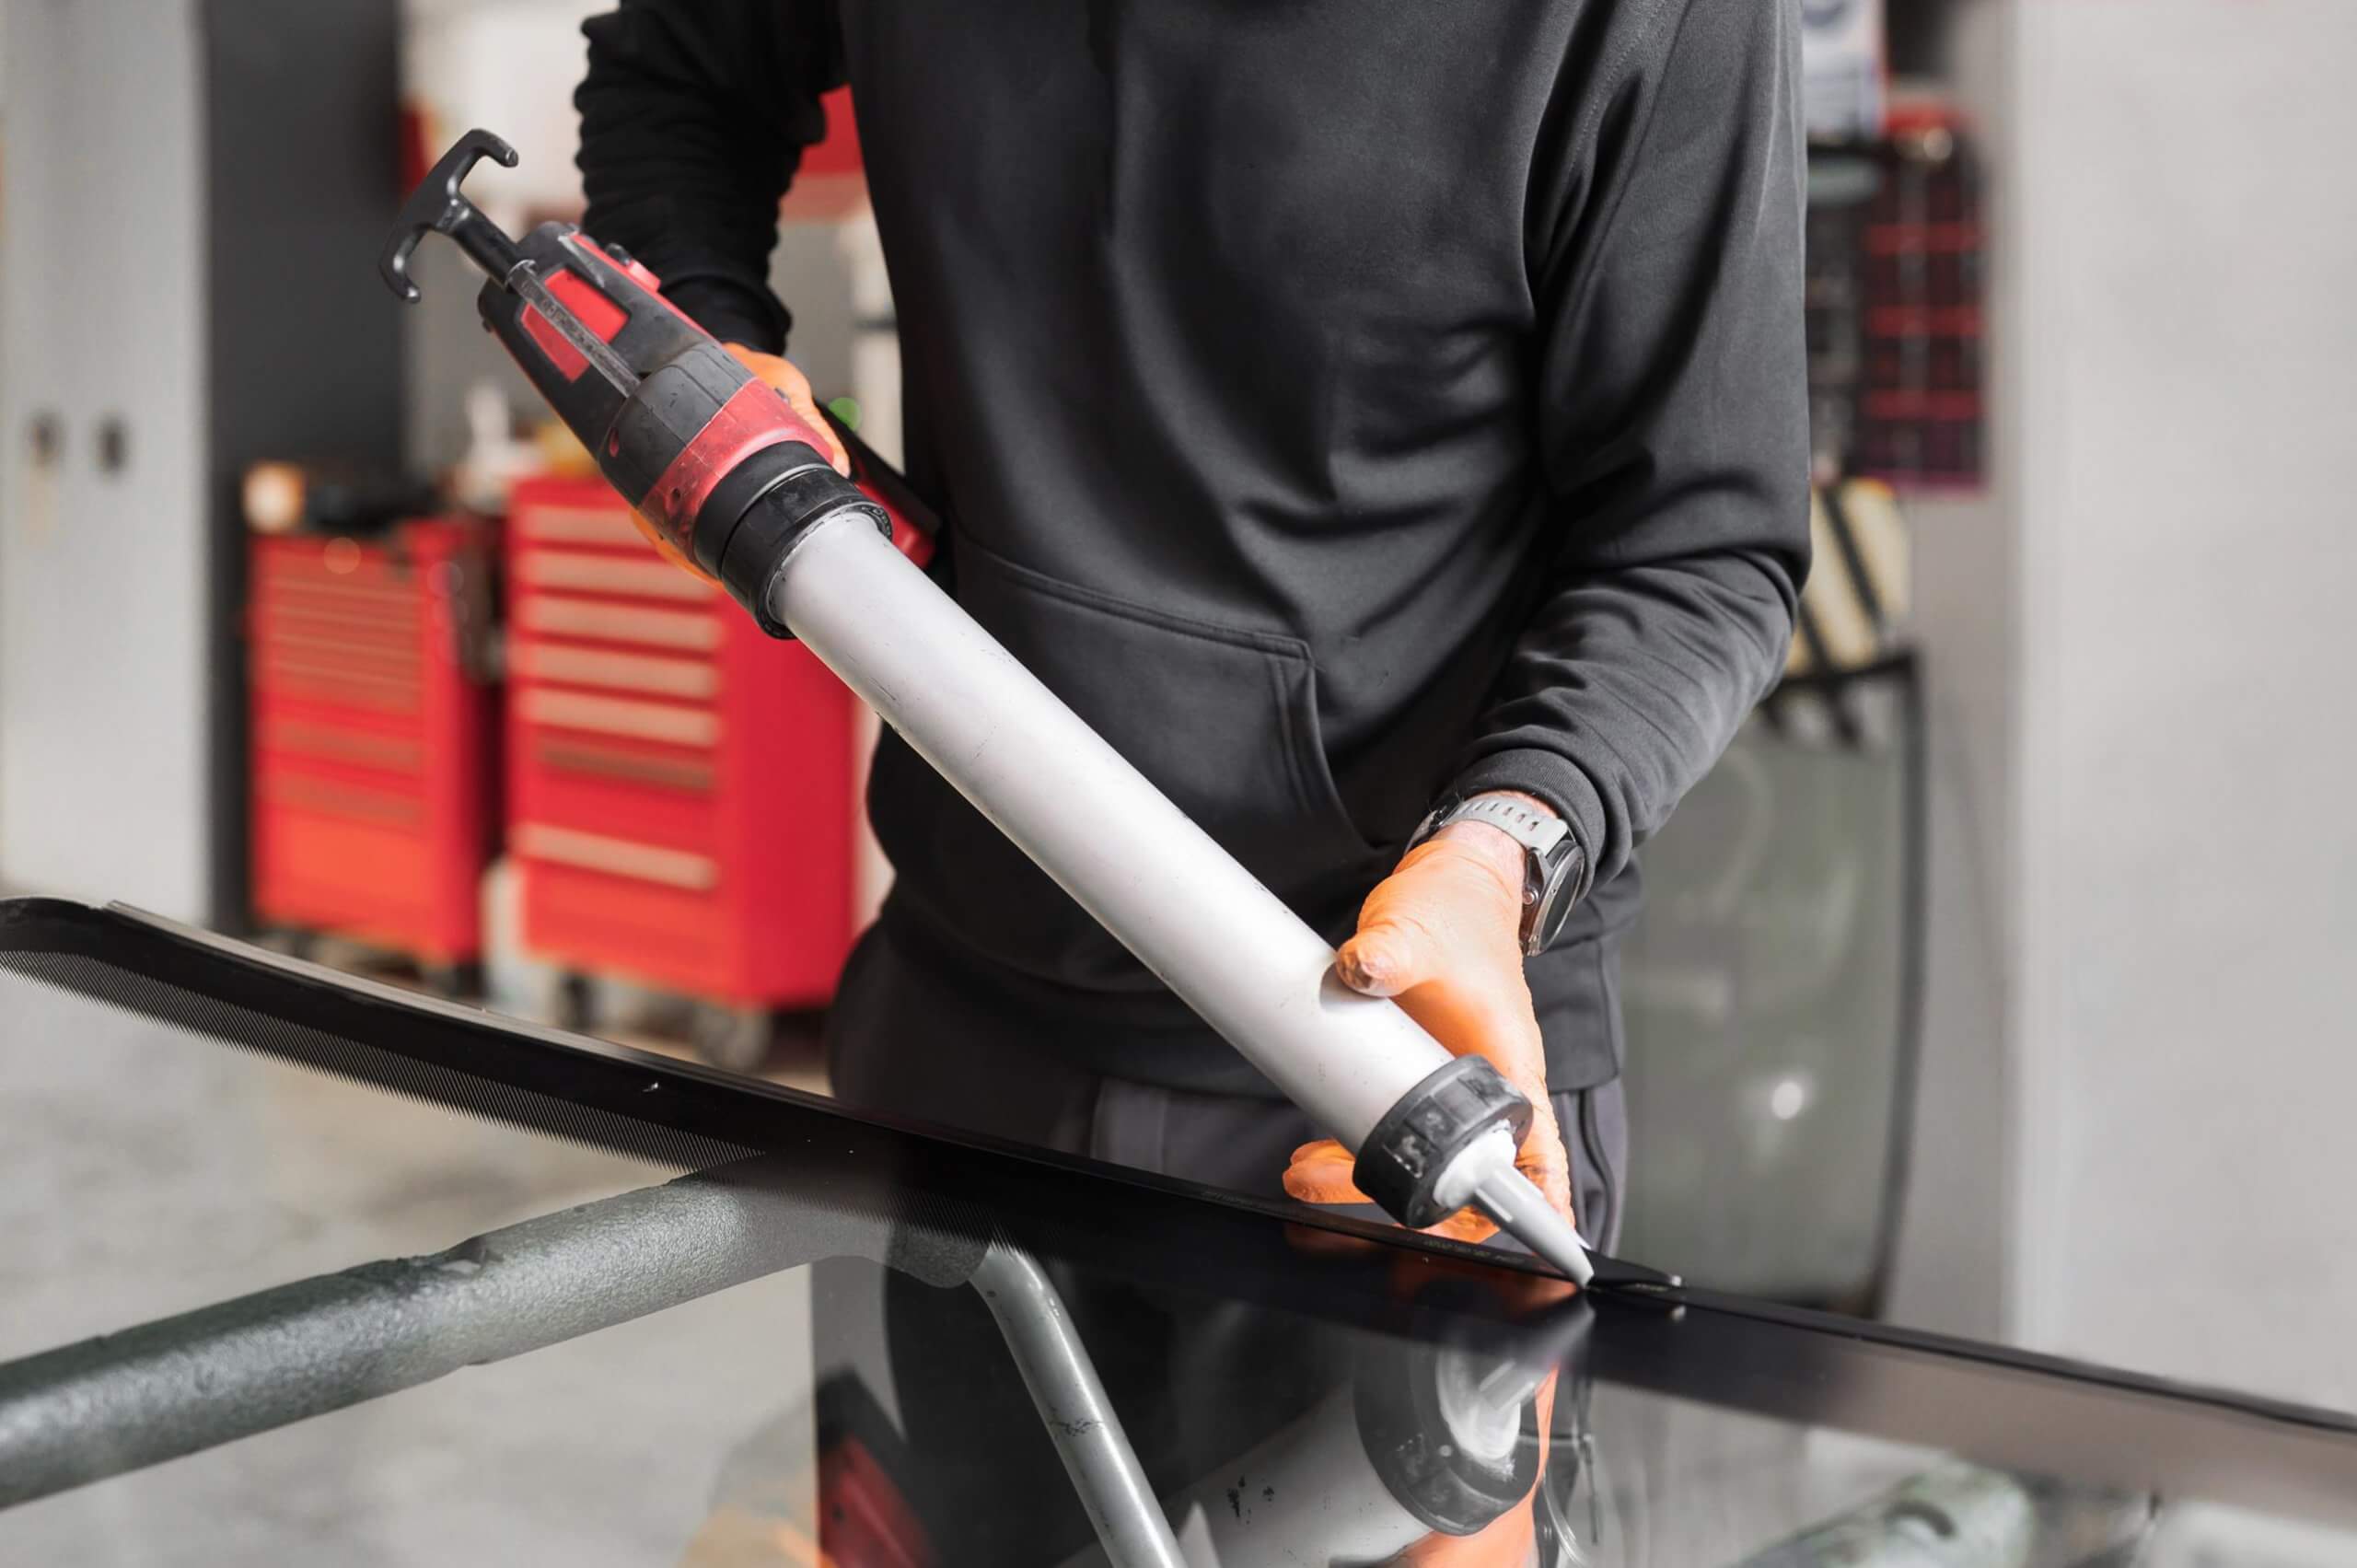
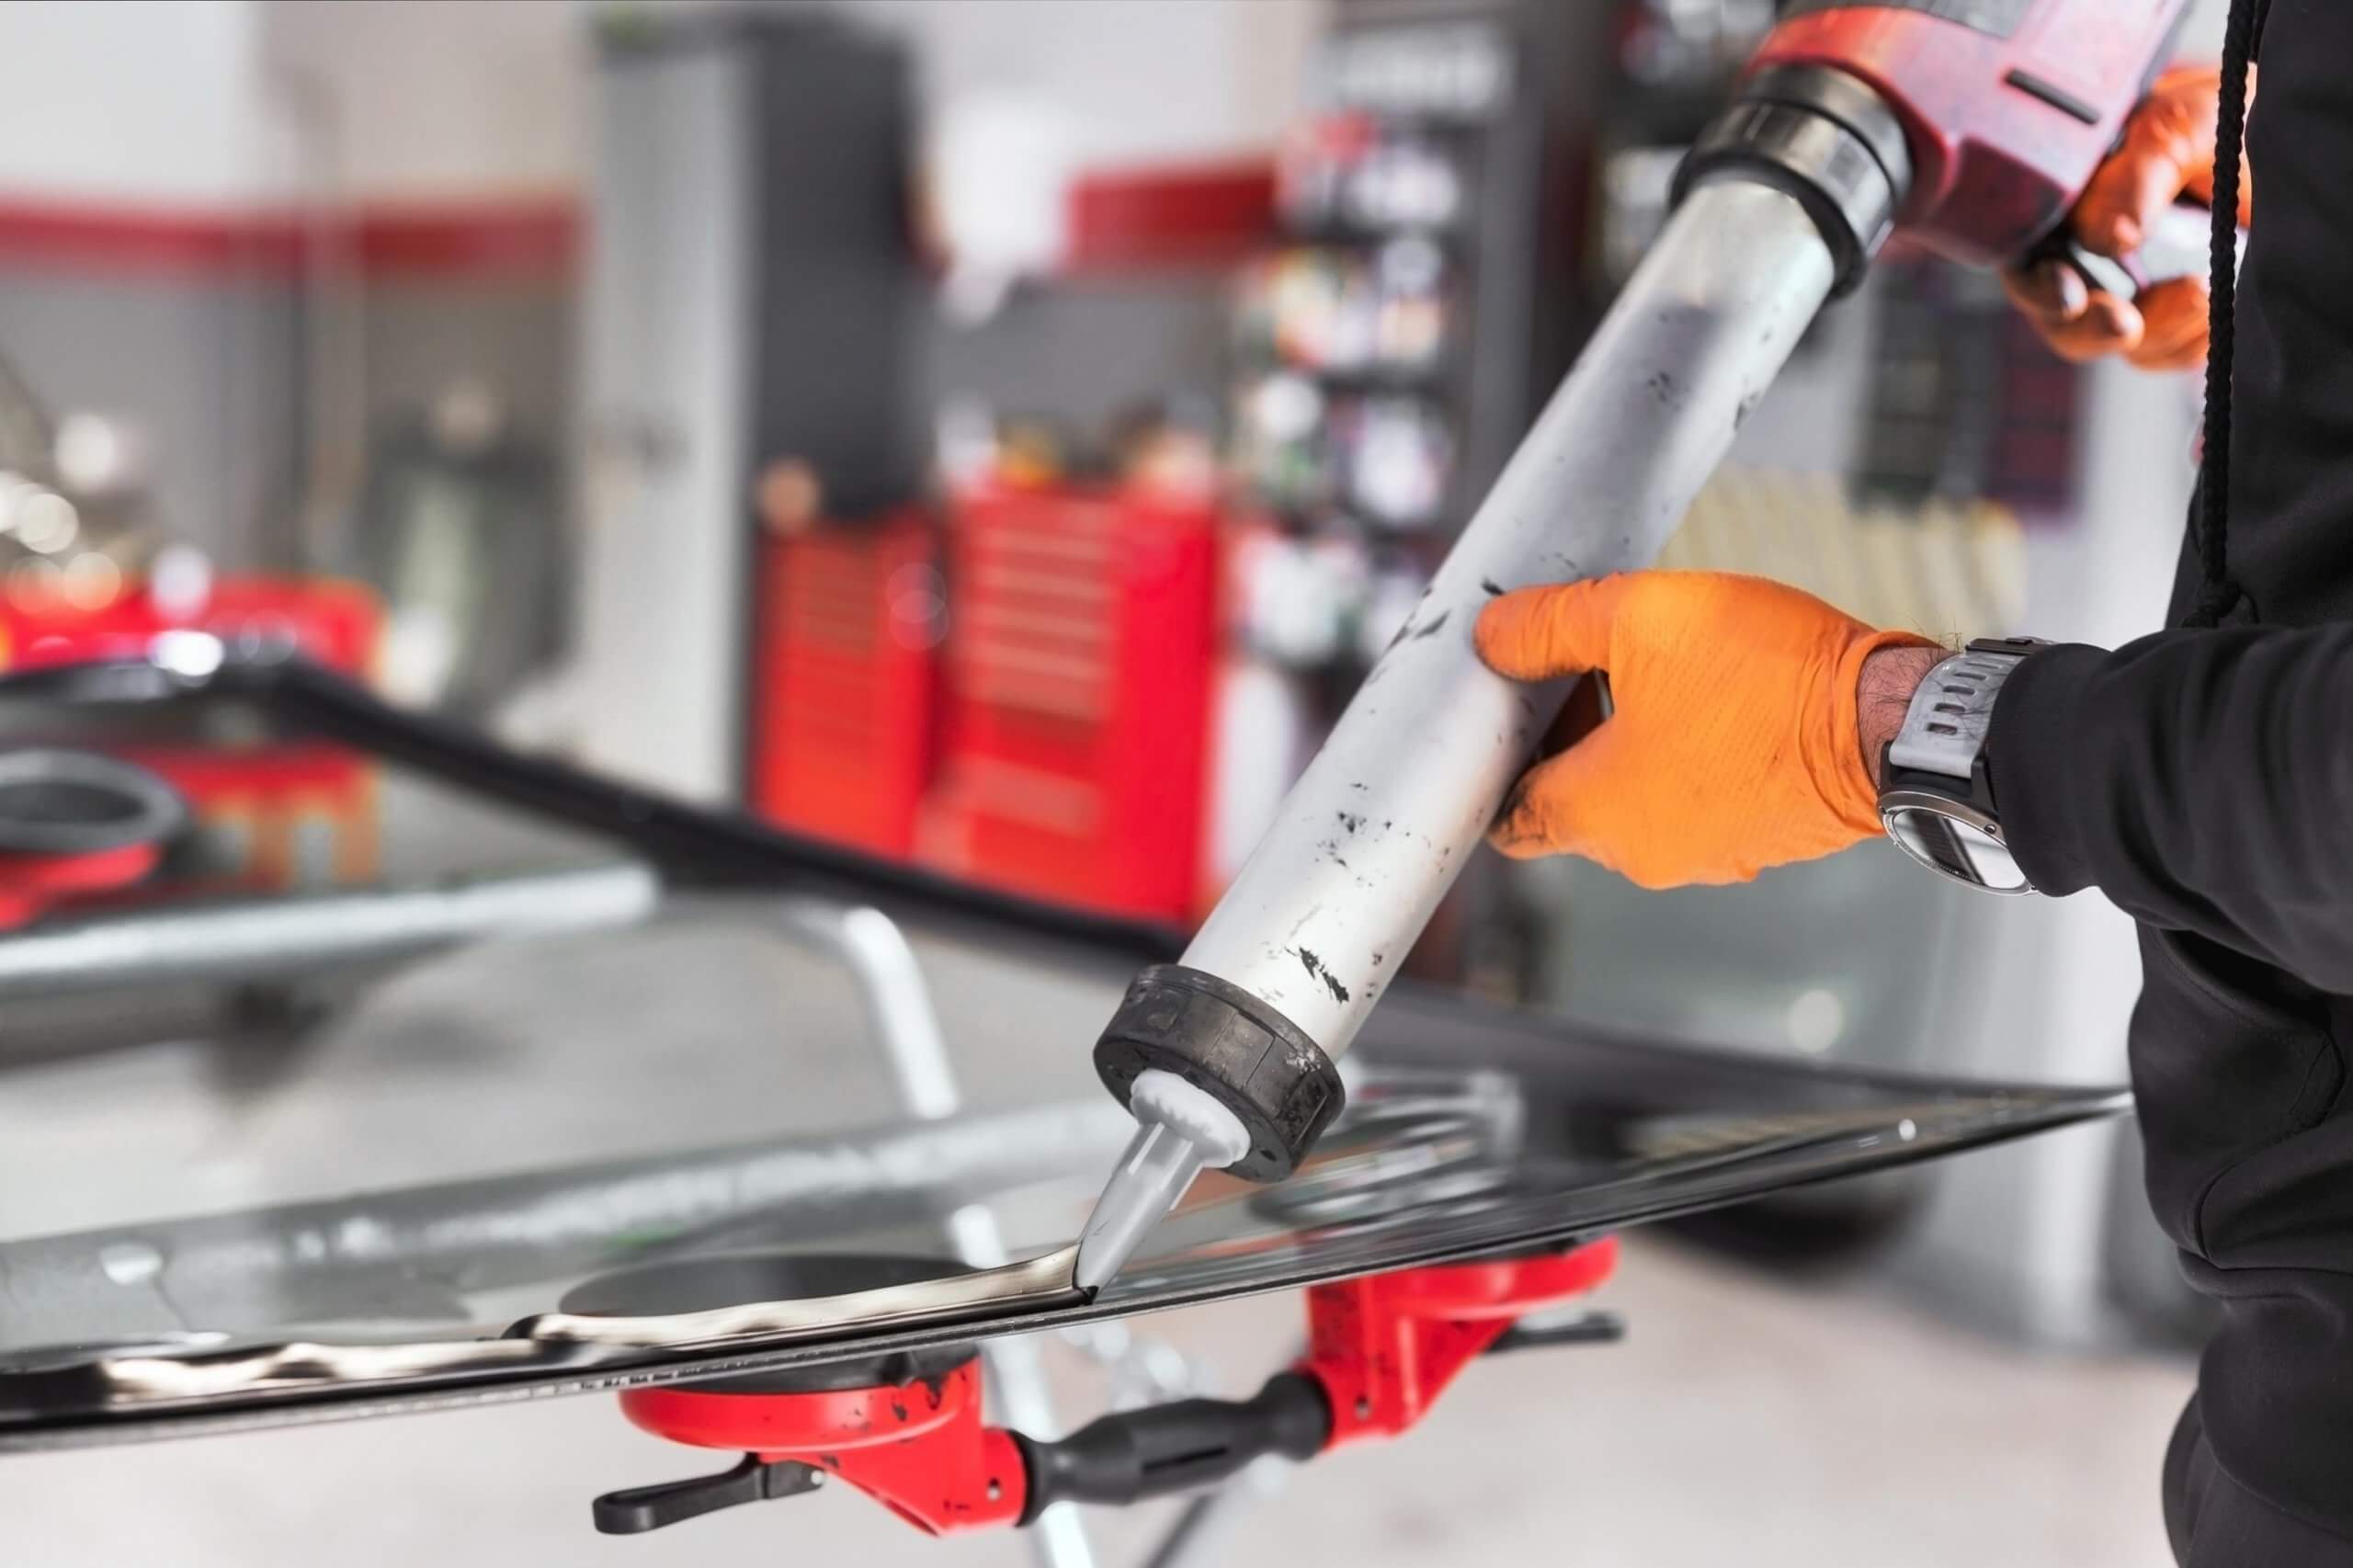
Prepare the replacement windshield: Apply a thin layer of windshield sealant/adhesive around the edge of the new windshield. Follow the manufacturer’s instructions for the specific adhesive you are using.
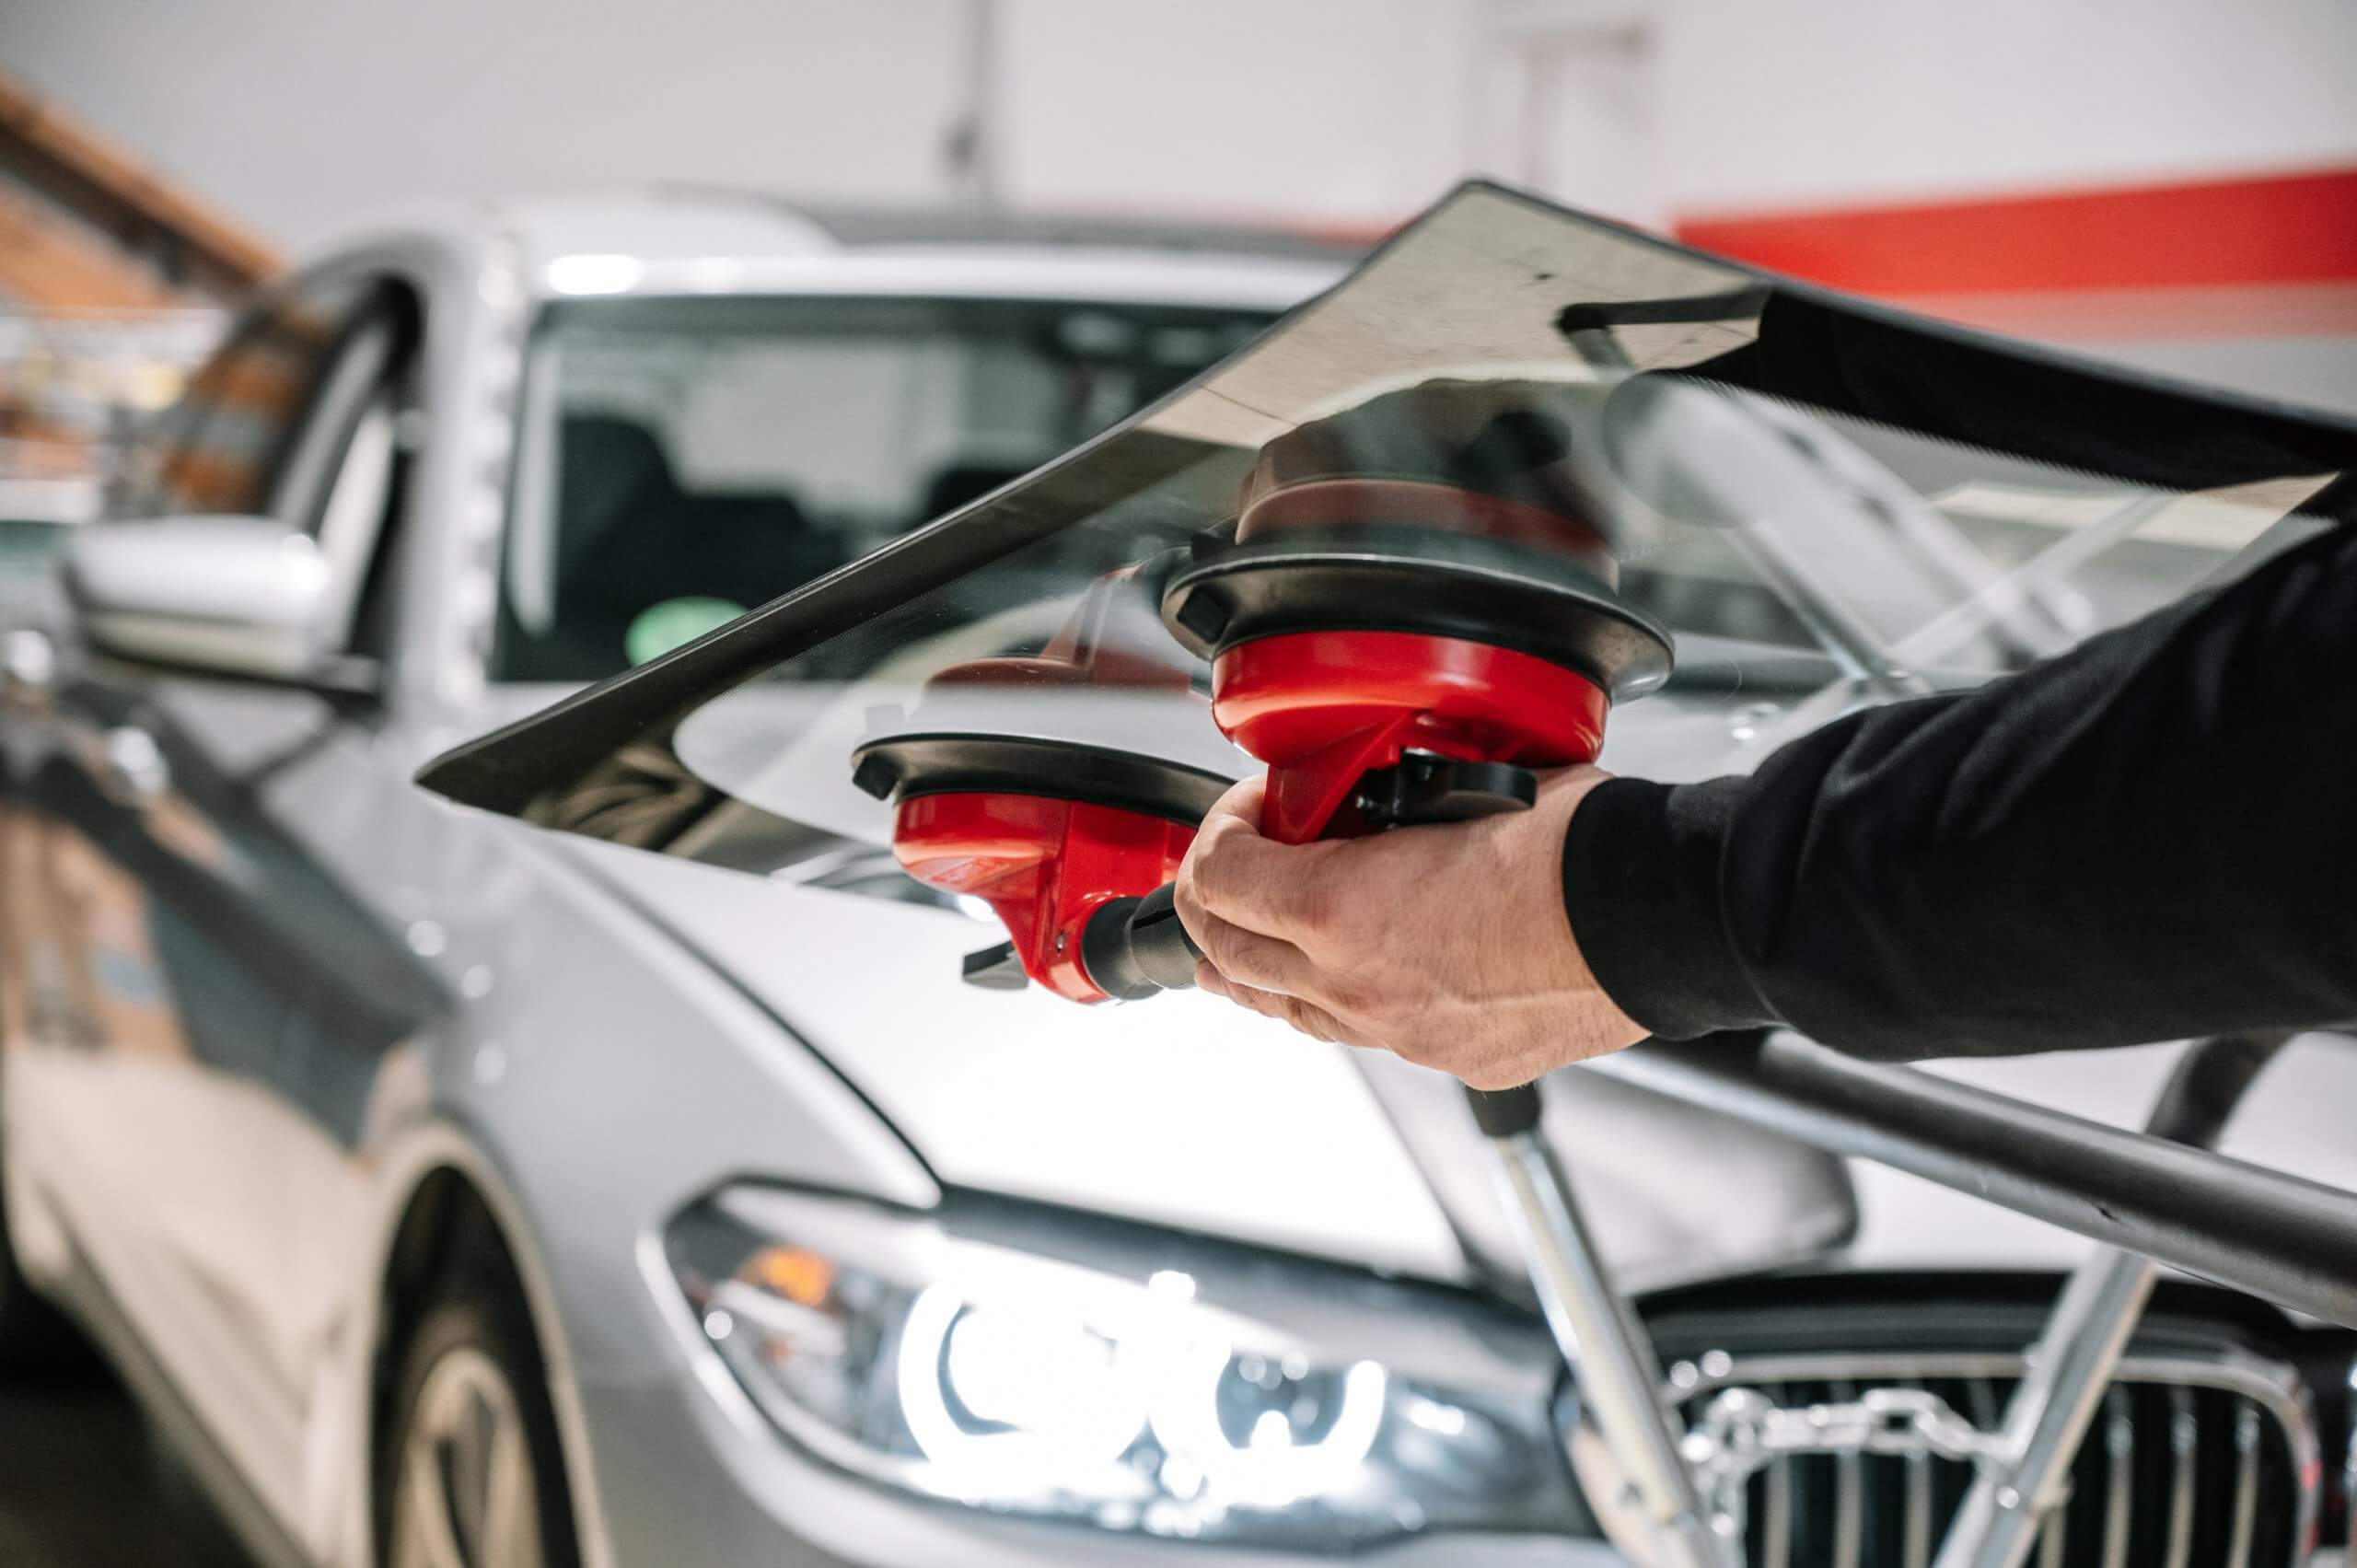
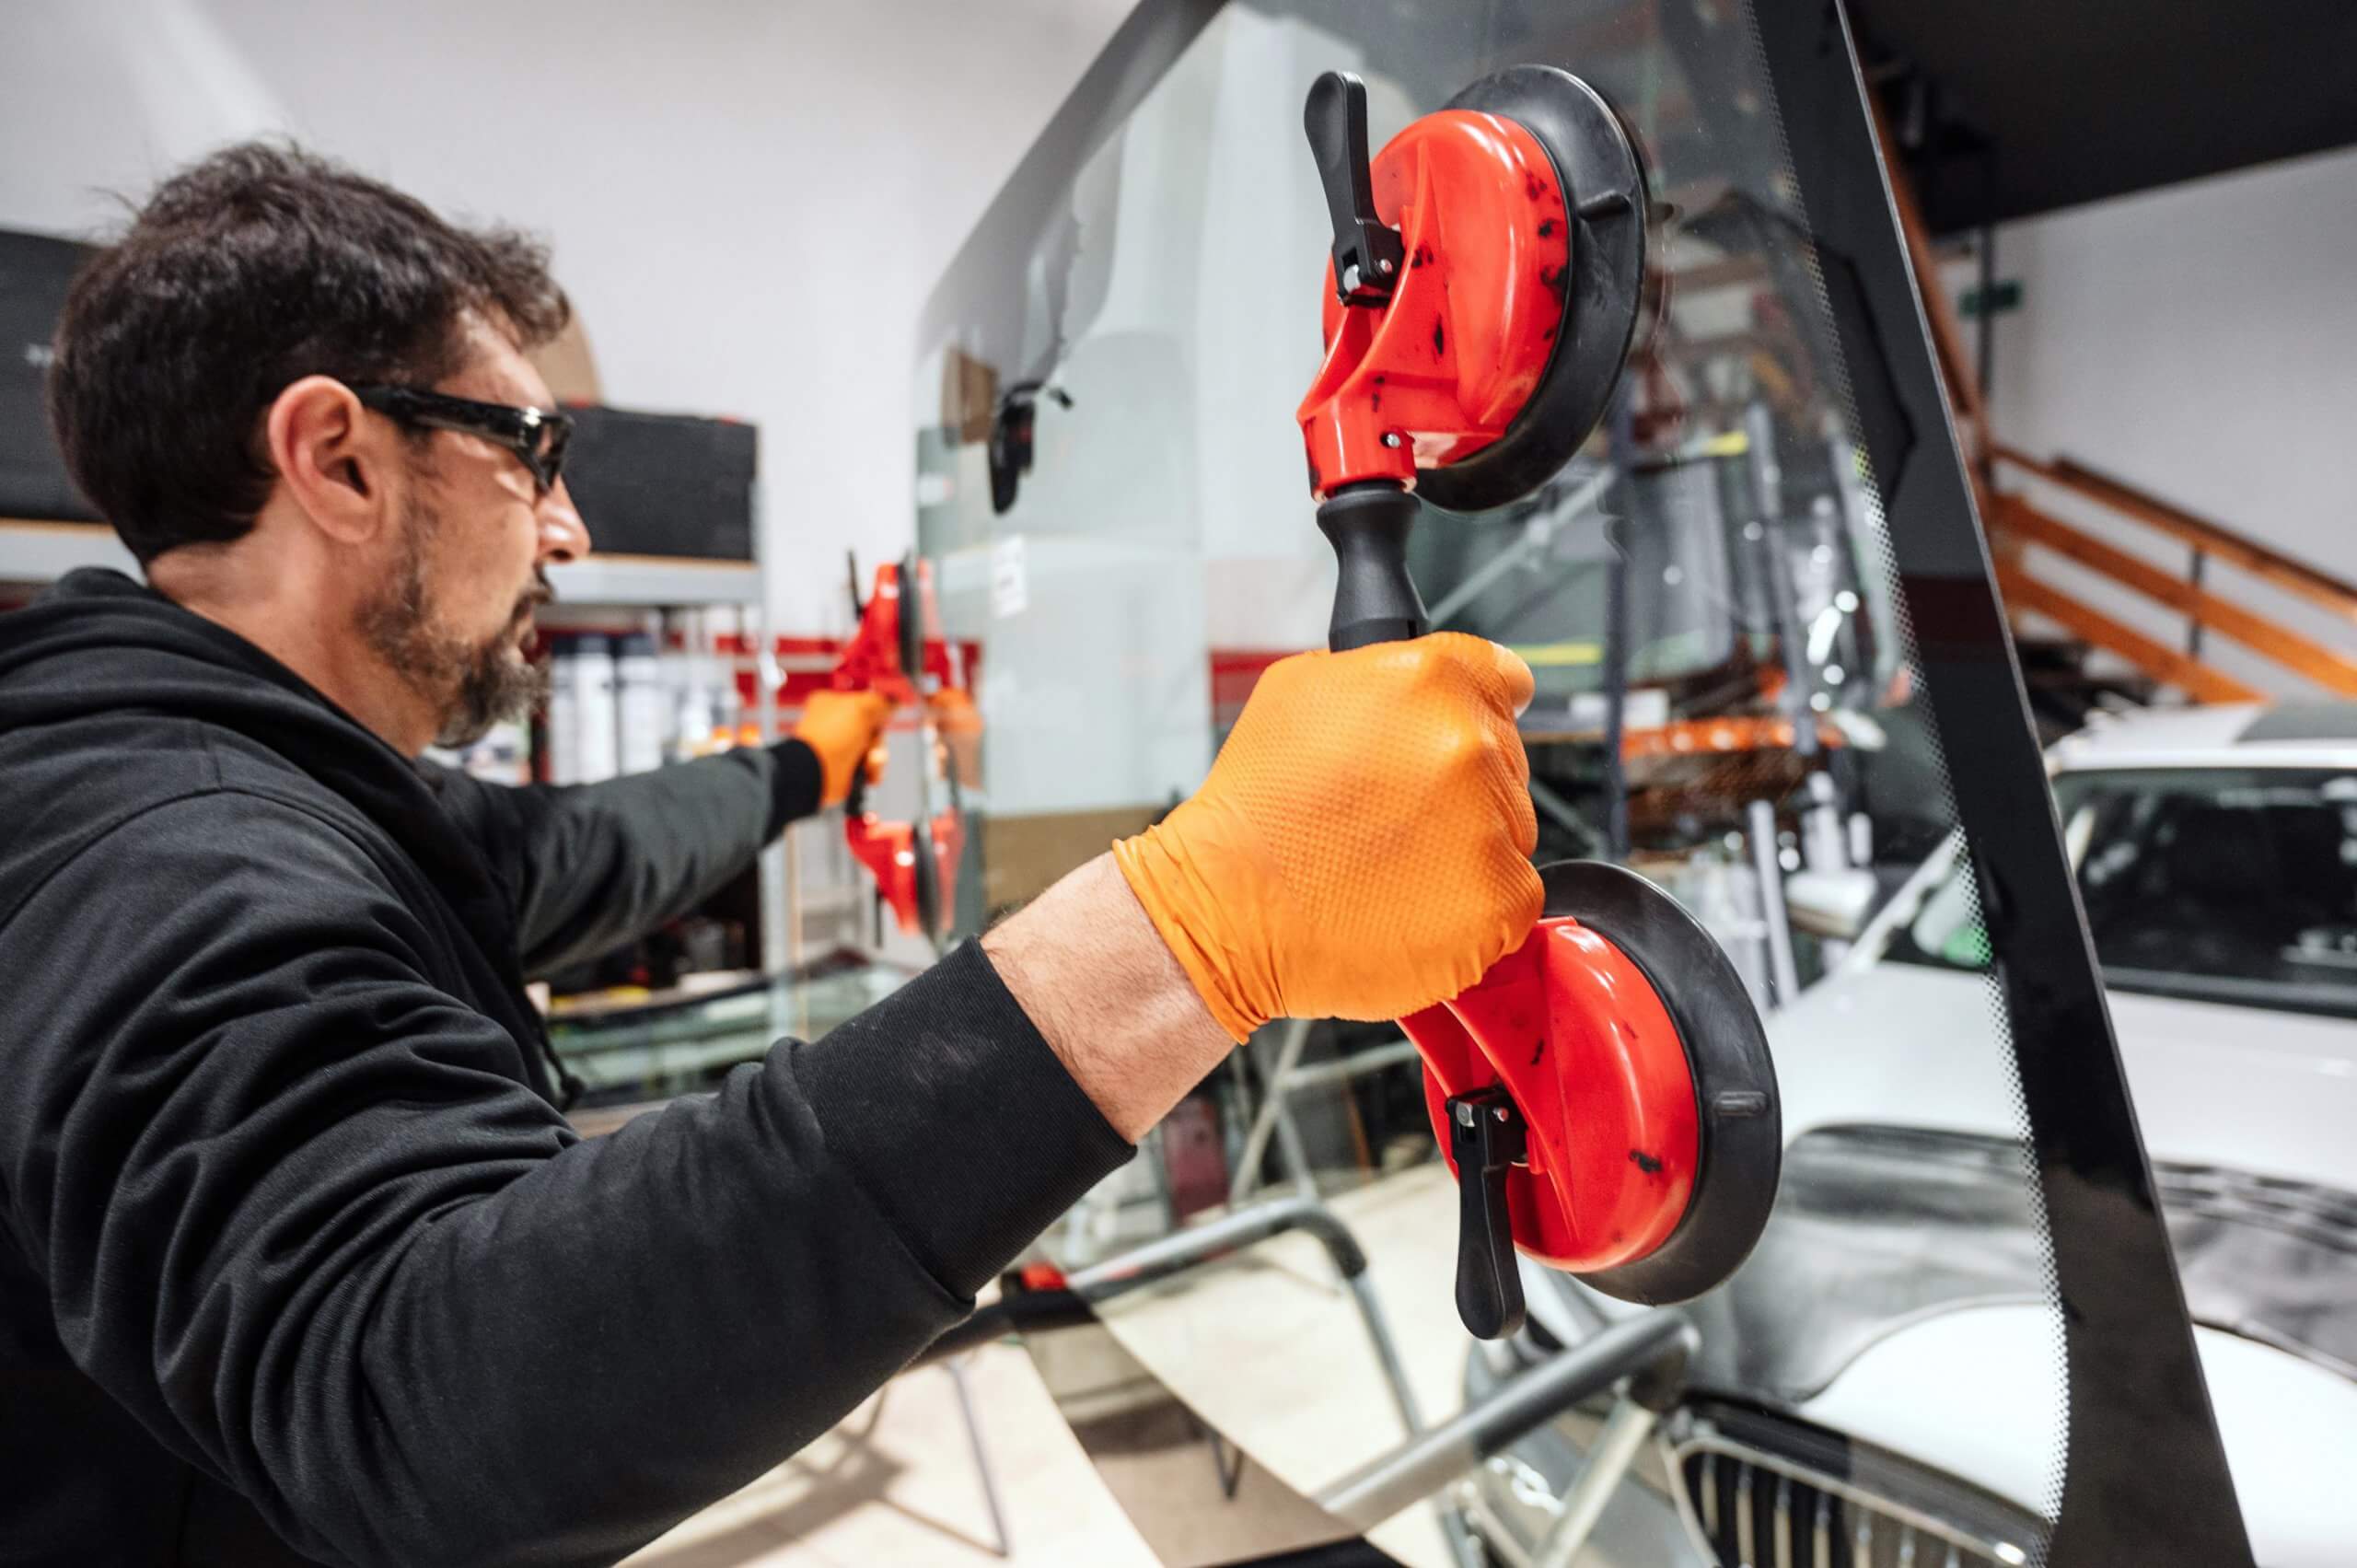
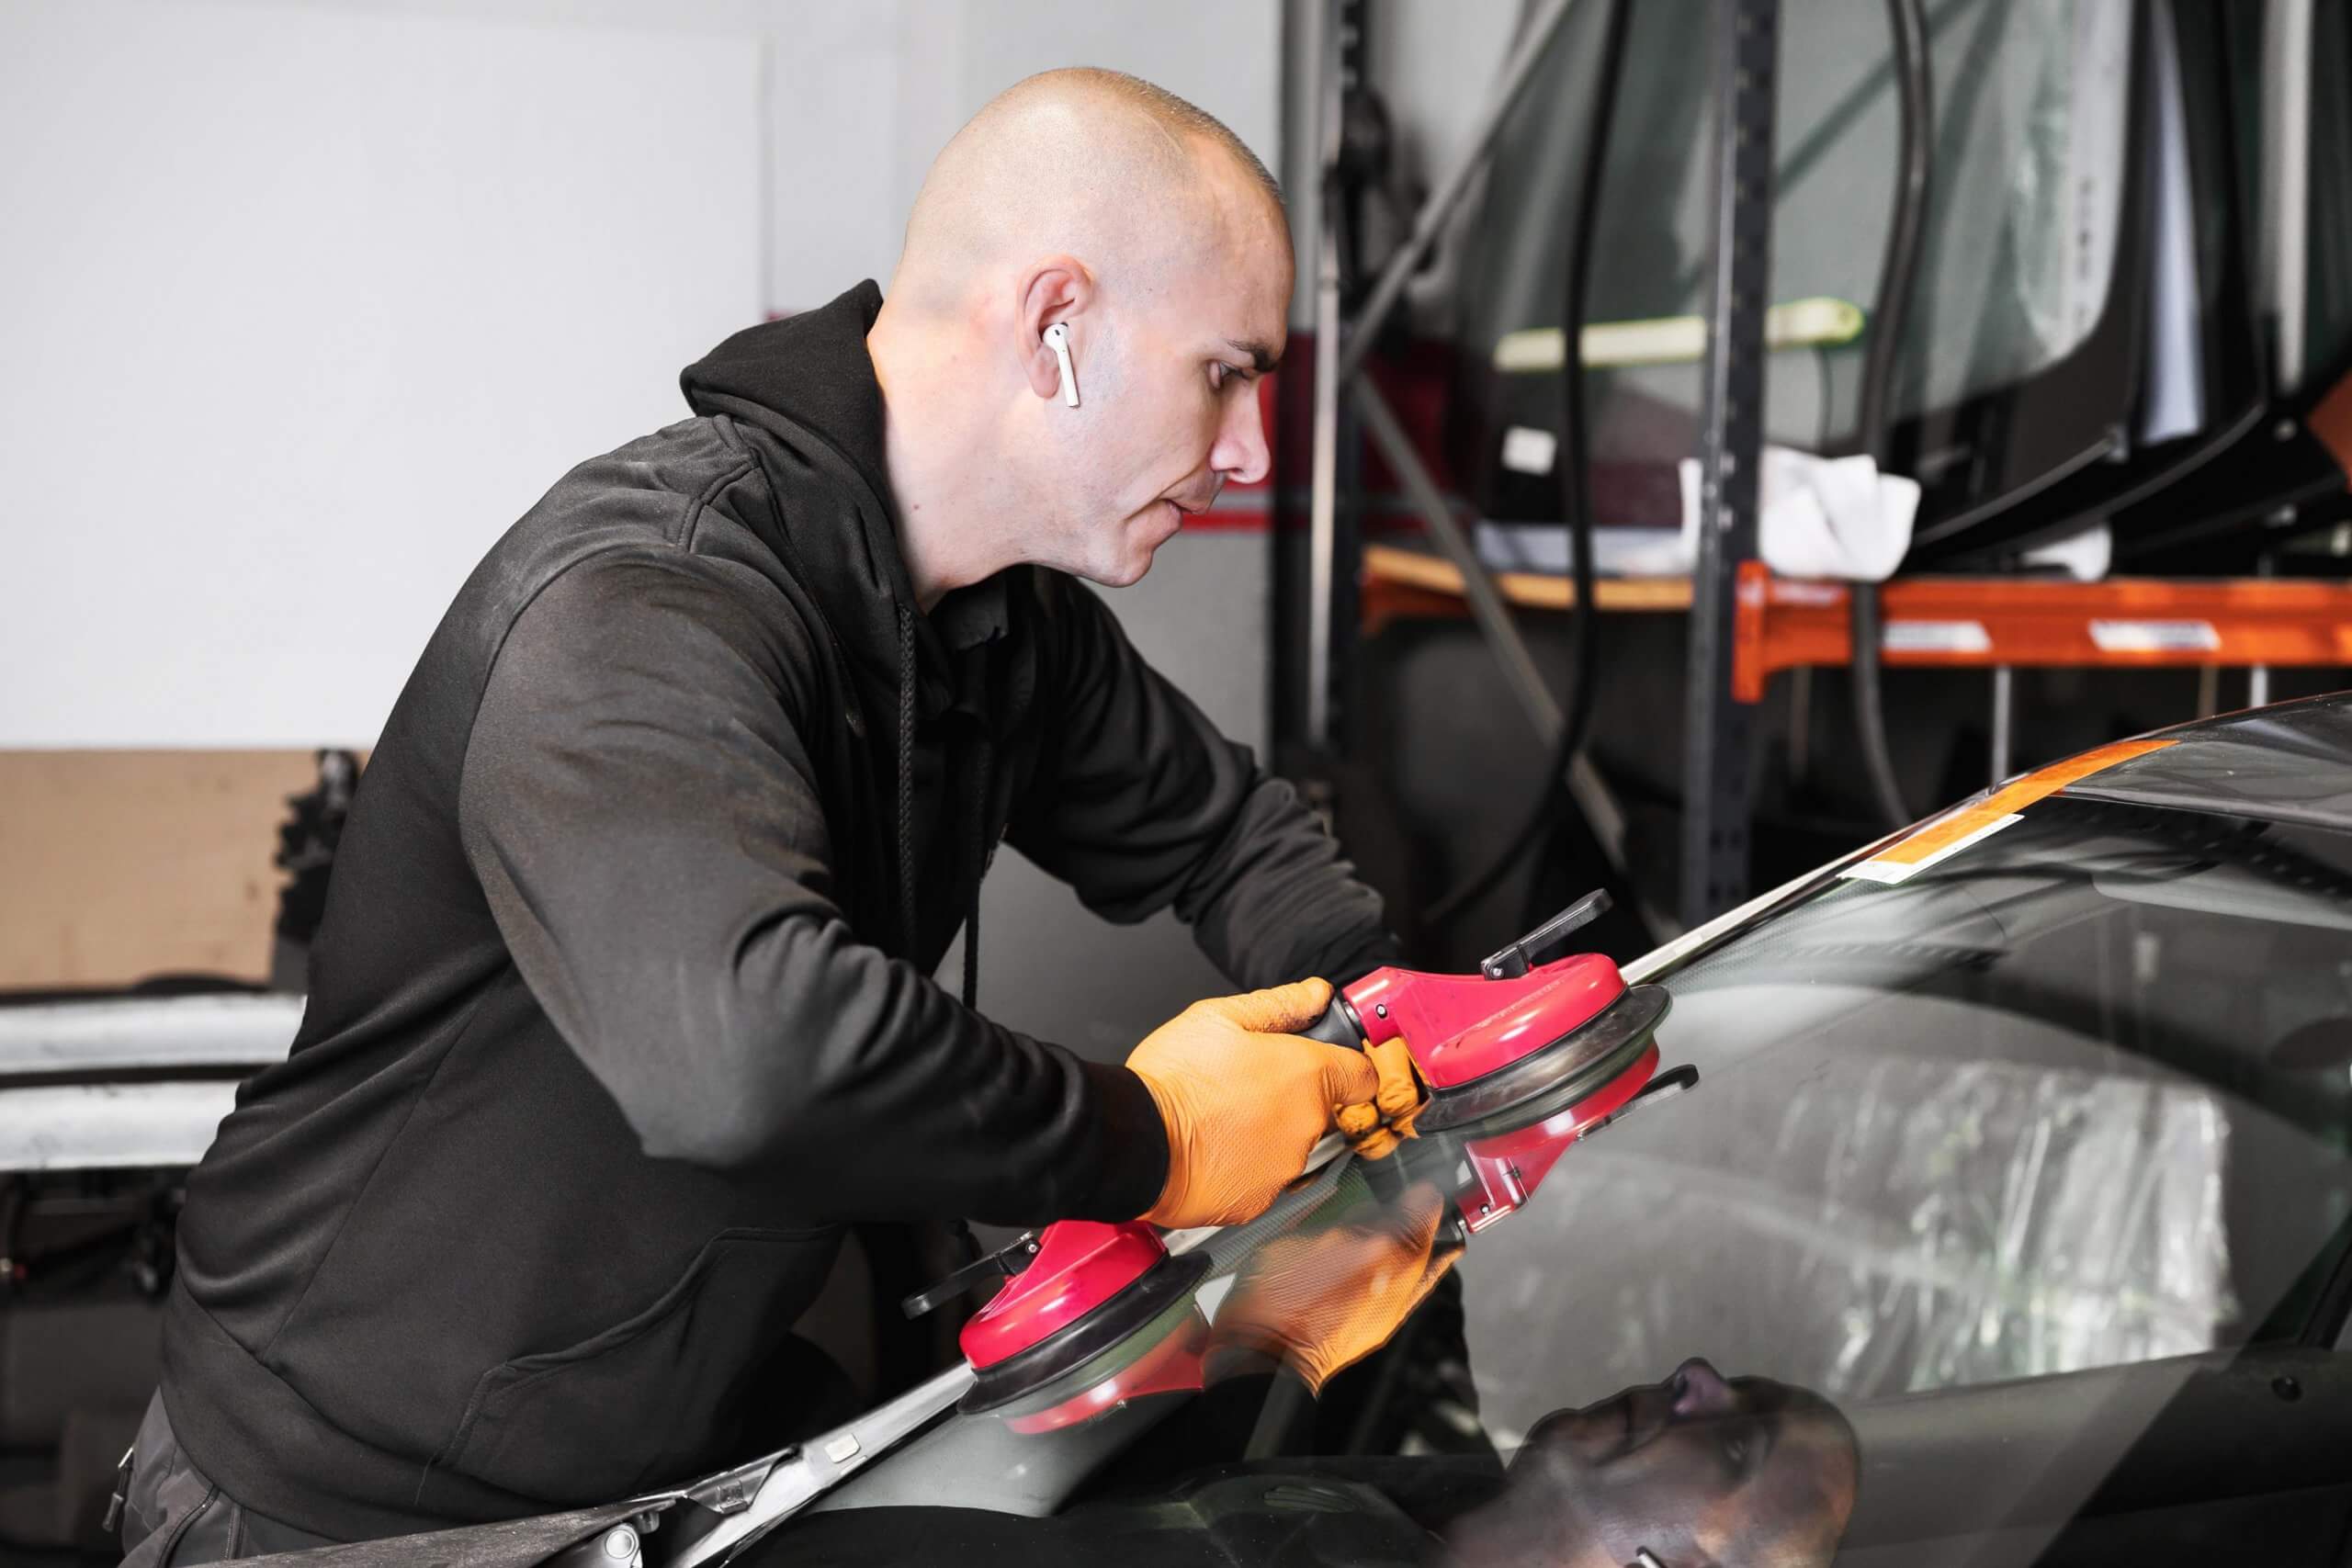
Install the new windshield: Carefully place the replacement windshield into the frame, ensuring it aligns properly with the vehicle’s body. Apply gentle pressure to ensure a secure fit.
Allow the adhesive to cure: Follow the instructions provided by the adhesive manufacturer for the recommended curing time. This typically takes several hours or longer, depending on the specific adhesive used.
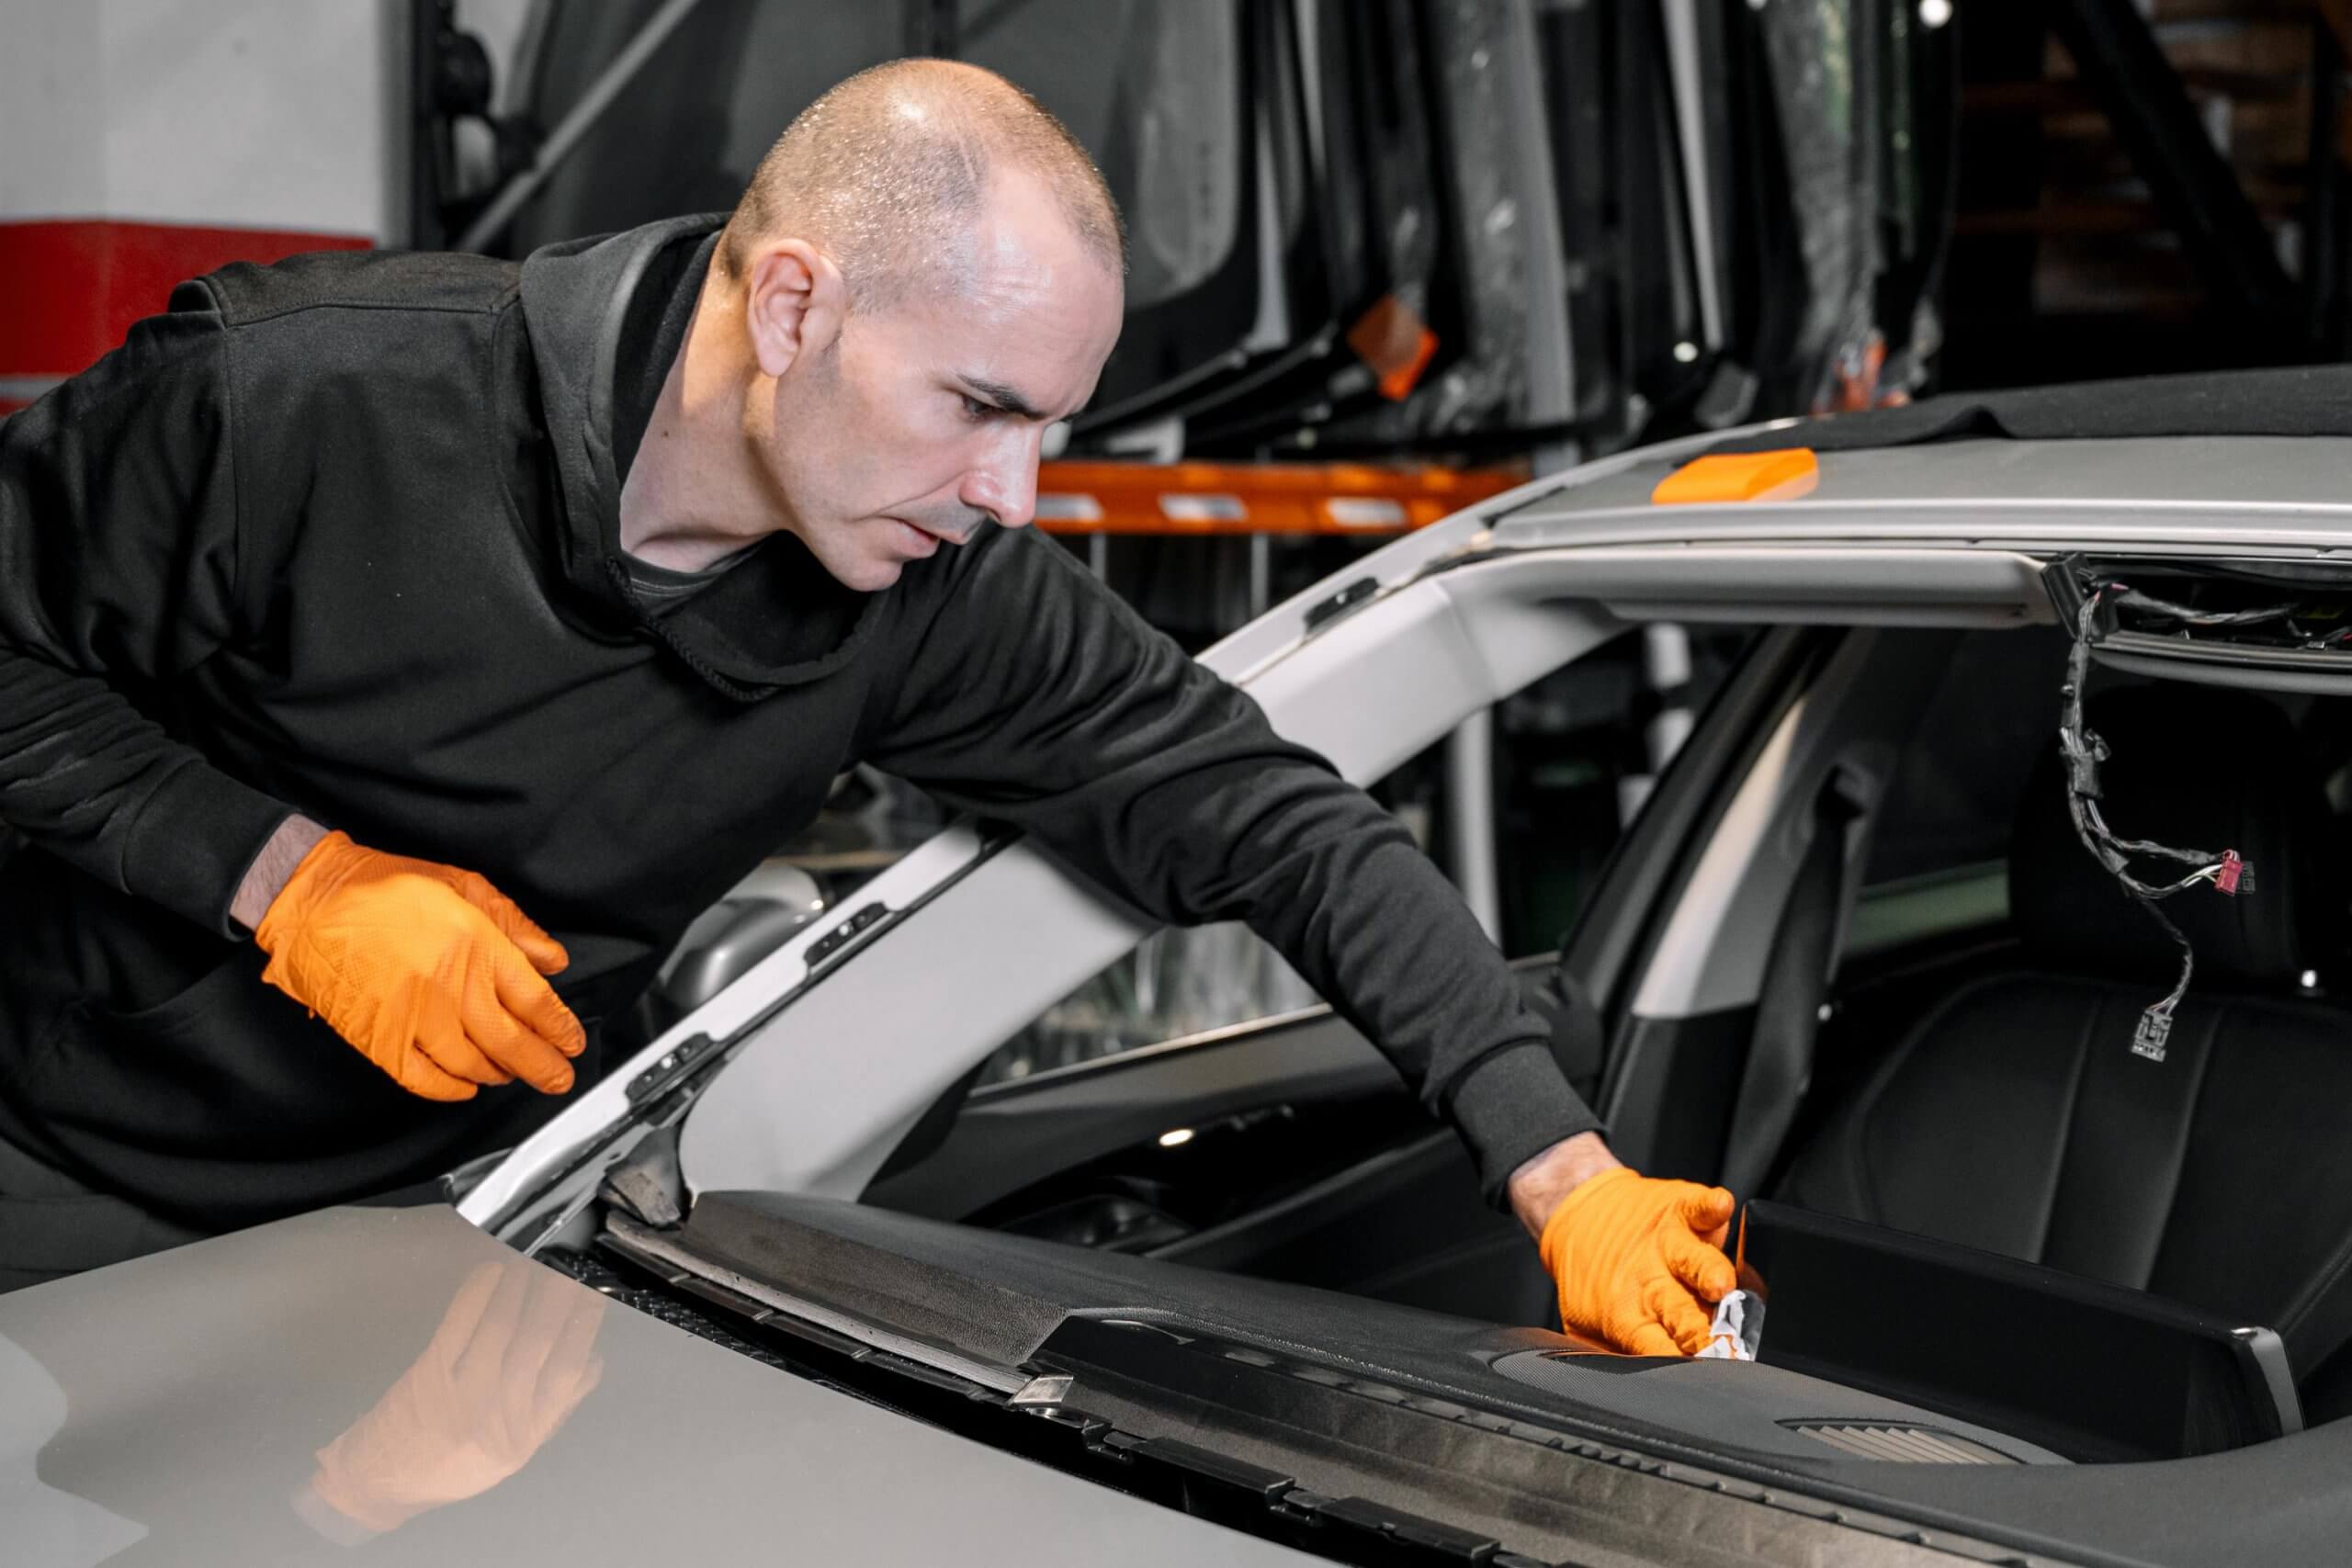
Clean up and finalize: Once the adhesive has cured, remove any excess sealant from the edges using a razor blade or utility knife. Clean the windshield thoroughly to remove any fingerprints or debris.
Note: It is crucial to follow the manufacturer’s instructions for the specific windshield adhesive you are using, as the process may vary slightly. If you are unsure or uncomfortable performing the replacement yourself, it is best to seek professional help to ensure a safe and proper installation.